Meshtastic
An open source, off-grid, decentralized, mesh network built to run on affordable, low-power devices
The Idea
This technology will enable the ability to securely send and recieve data over a long range without the need for commercial contracts or government ties or hardware.
The Uses
- Bee Apiary Sensors and Notifications
- Water Collection and Containment Systems
- Agricultural Sensor and Monitoring Uses
- Livestock and Wildlife Managment
- Natural Disaster Warning System
- Rural RailRoad Maintenance Indicators
The Hardware
Microcontroller Notes
NRF52: better for solar power applications
-
LilyGo T-Echo
-
BME680 environmental sensors
-
comes in handy case
-
RAK 4632 - modular
-
Ethernet capable (MQTT)*
- Solar charger built-in
ESP32: power hungry
- LilyGo T-Beam
-
Heltec LoRa 32
-
Builtin wifi & bluetooth
- Builtin web client
- Avoid LoRa32 v2.1 (no SX1262)
The Config
POSIX Timezone: CST6CDT,M3.2.0,M11.1.0
meshtastic --set bluetooth.fixed_pin 144141 --set bluetooth.mode FIXED_PIN
meshtastic --set device.role CLIENT_MUTE
meshtastic --ch-set uplink_enabled true --ch-set module_settings.position_precision 13 --ch-index 0
meshtastic --set position.fixed_position true --set position.position_broadcast_smart_enabled false --setlat 31.548590 --setlon -97.363663 --ch-set module_settings.position_precision 13 --ch-index 0
meshtastic --set mqtt.enabled true --set mqtt.root msh/US/TX --set mqtt.proxy_to_client_enabled true --set mqtt.map_reporting_enabled true
Solar Build
- RAK4630 WisBlock Core Module
- RAK19007 WisBlock Base
- RAK1921 OLED Display
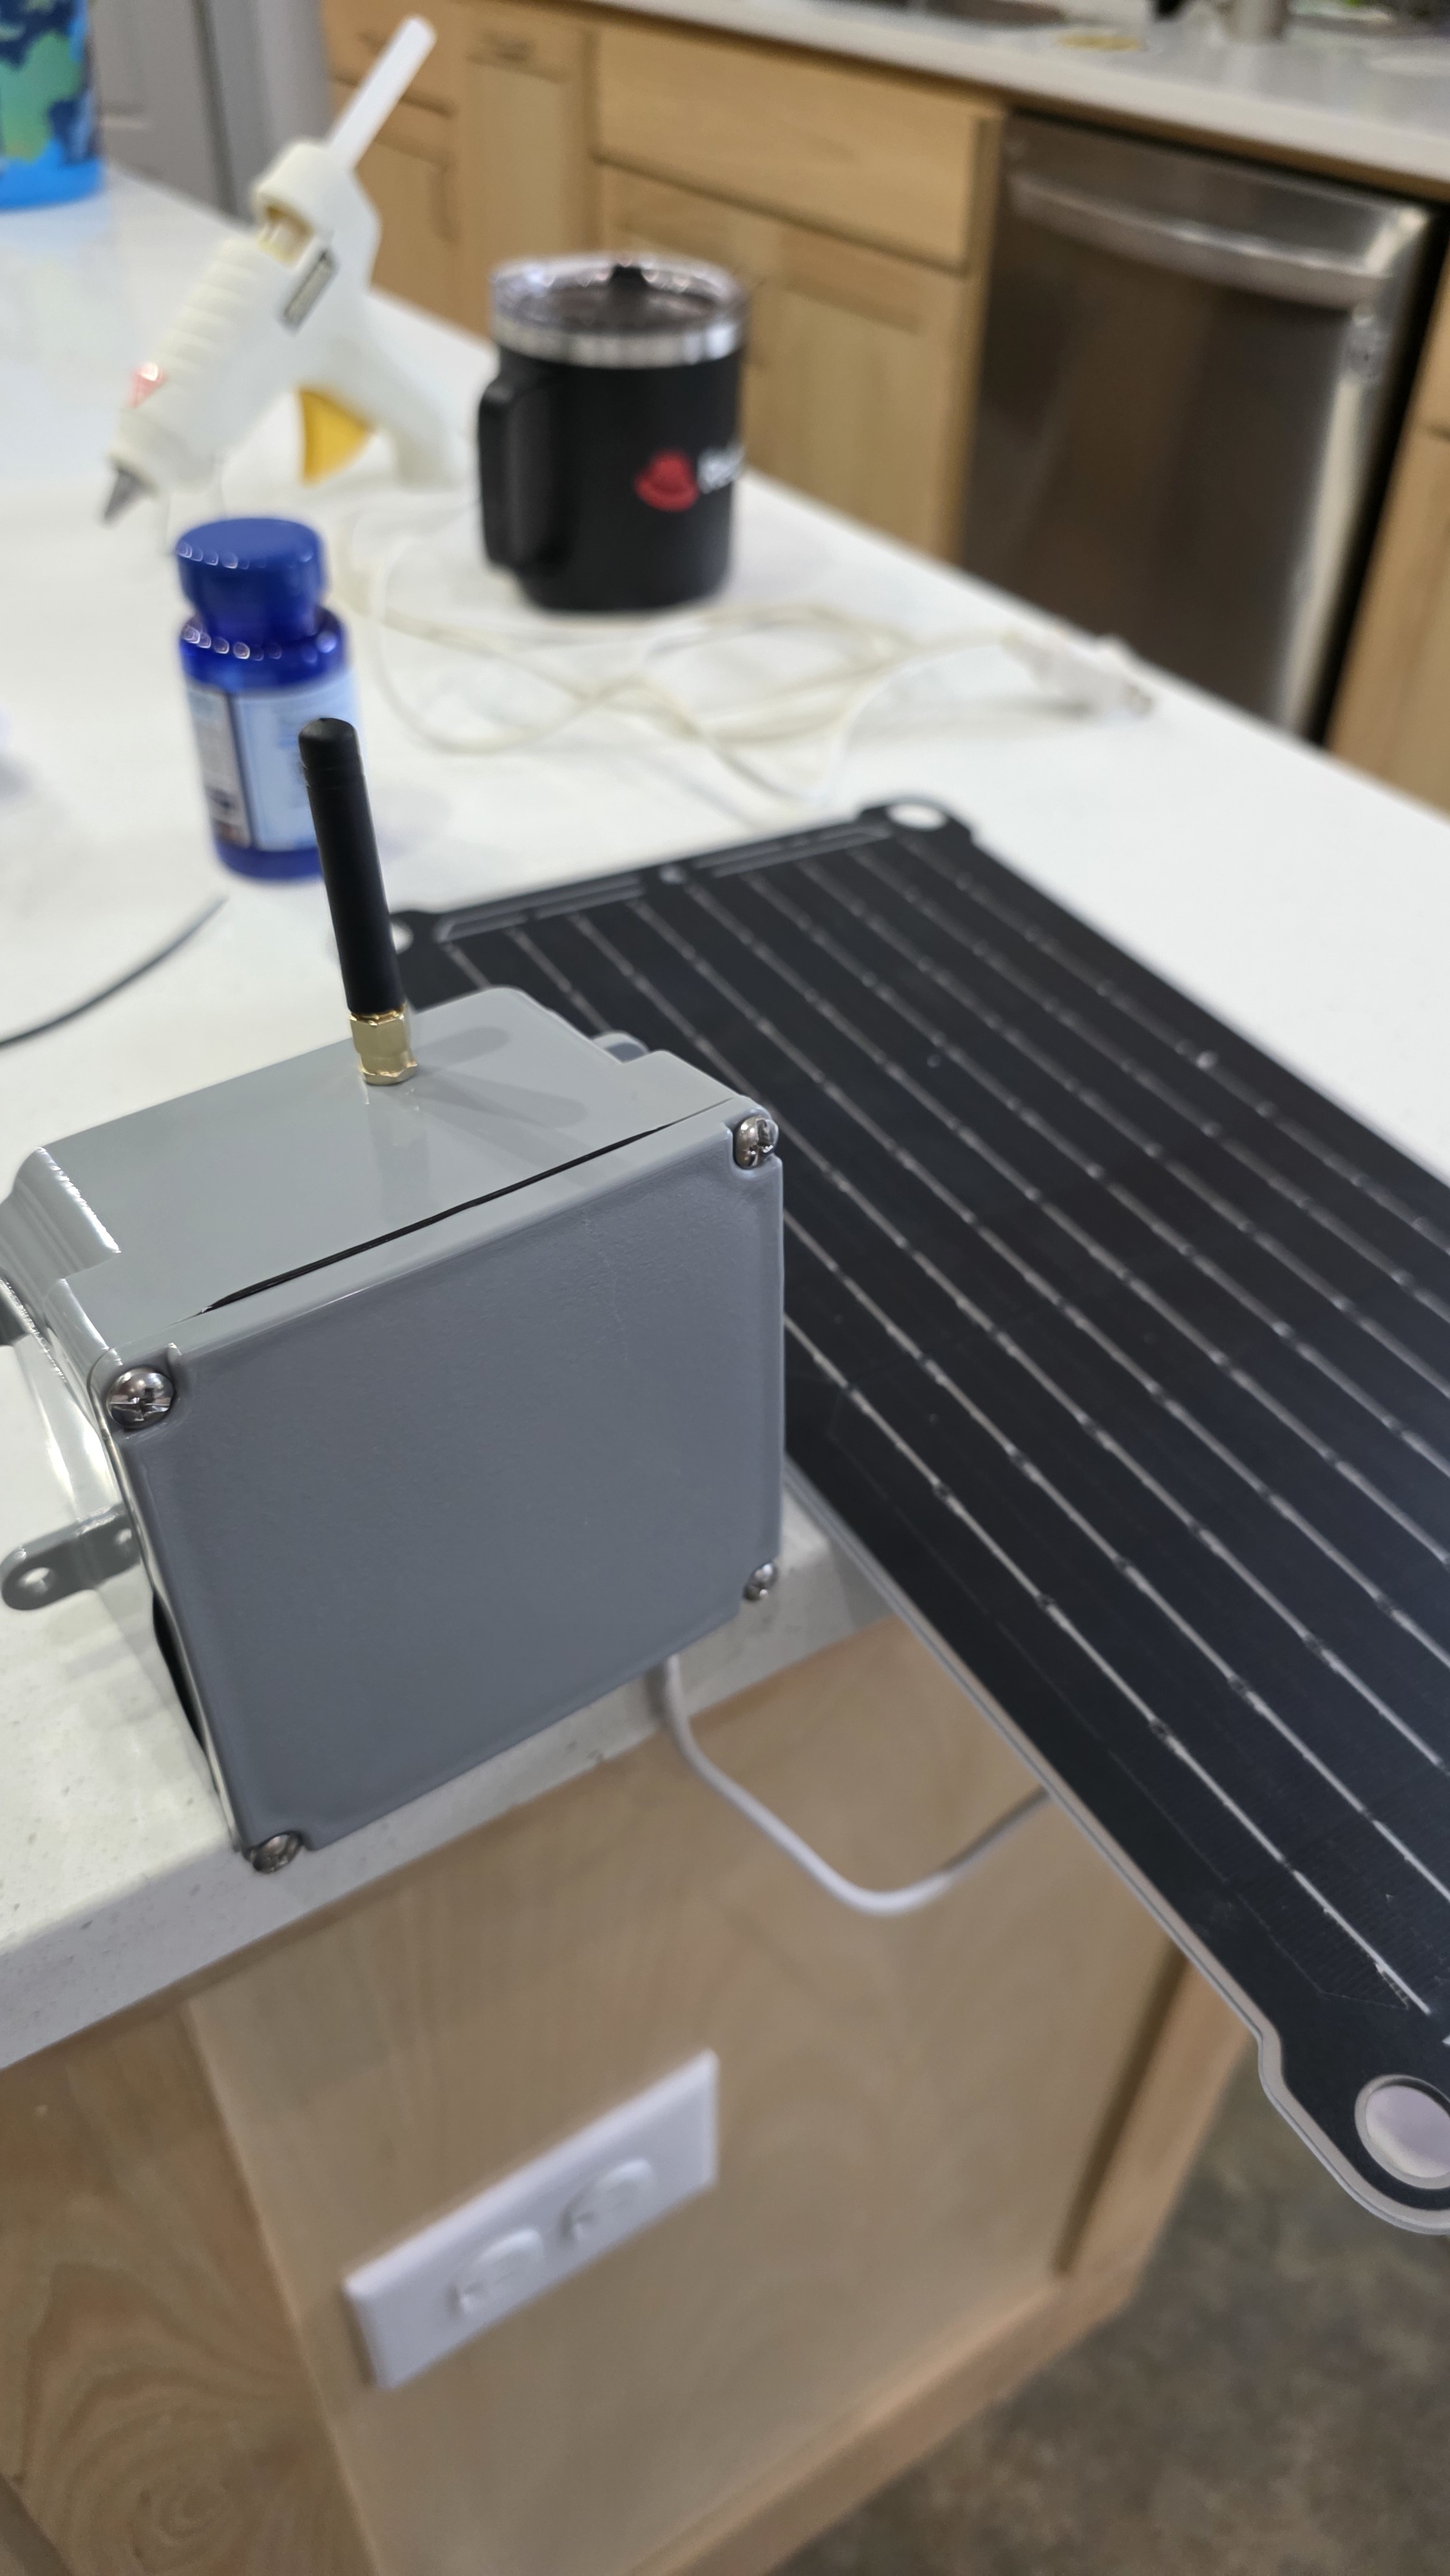
A look inside the box at the Wisblock. The battery is a smaller battery that I took out of a disposable Vape so I'm not exatly sure on the capacity.
More details on the battery later and the issue of not seeing the status of the charge. The solar panel I got free from a booth at the Overland Expo and it has a built in solar charger, so I connected it to the USB-C port, (not picutred). I went ahead and wired the solar charger that comes with the Wisblock, but didn't end up using it, yet.

Yes, I really need to upgrade that antenna, and I did put a little hotglue, around the fitting, to keep the water out. The next time I put my eyes on the silicon, I should really put a dollop around the connection.
Site Planning
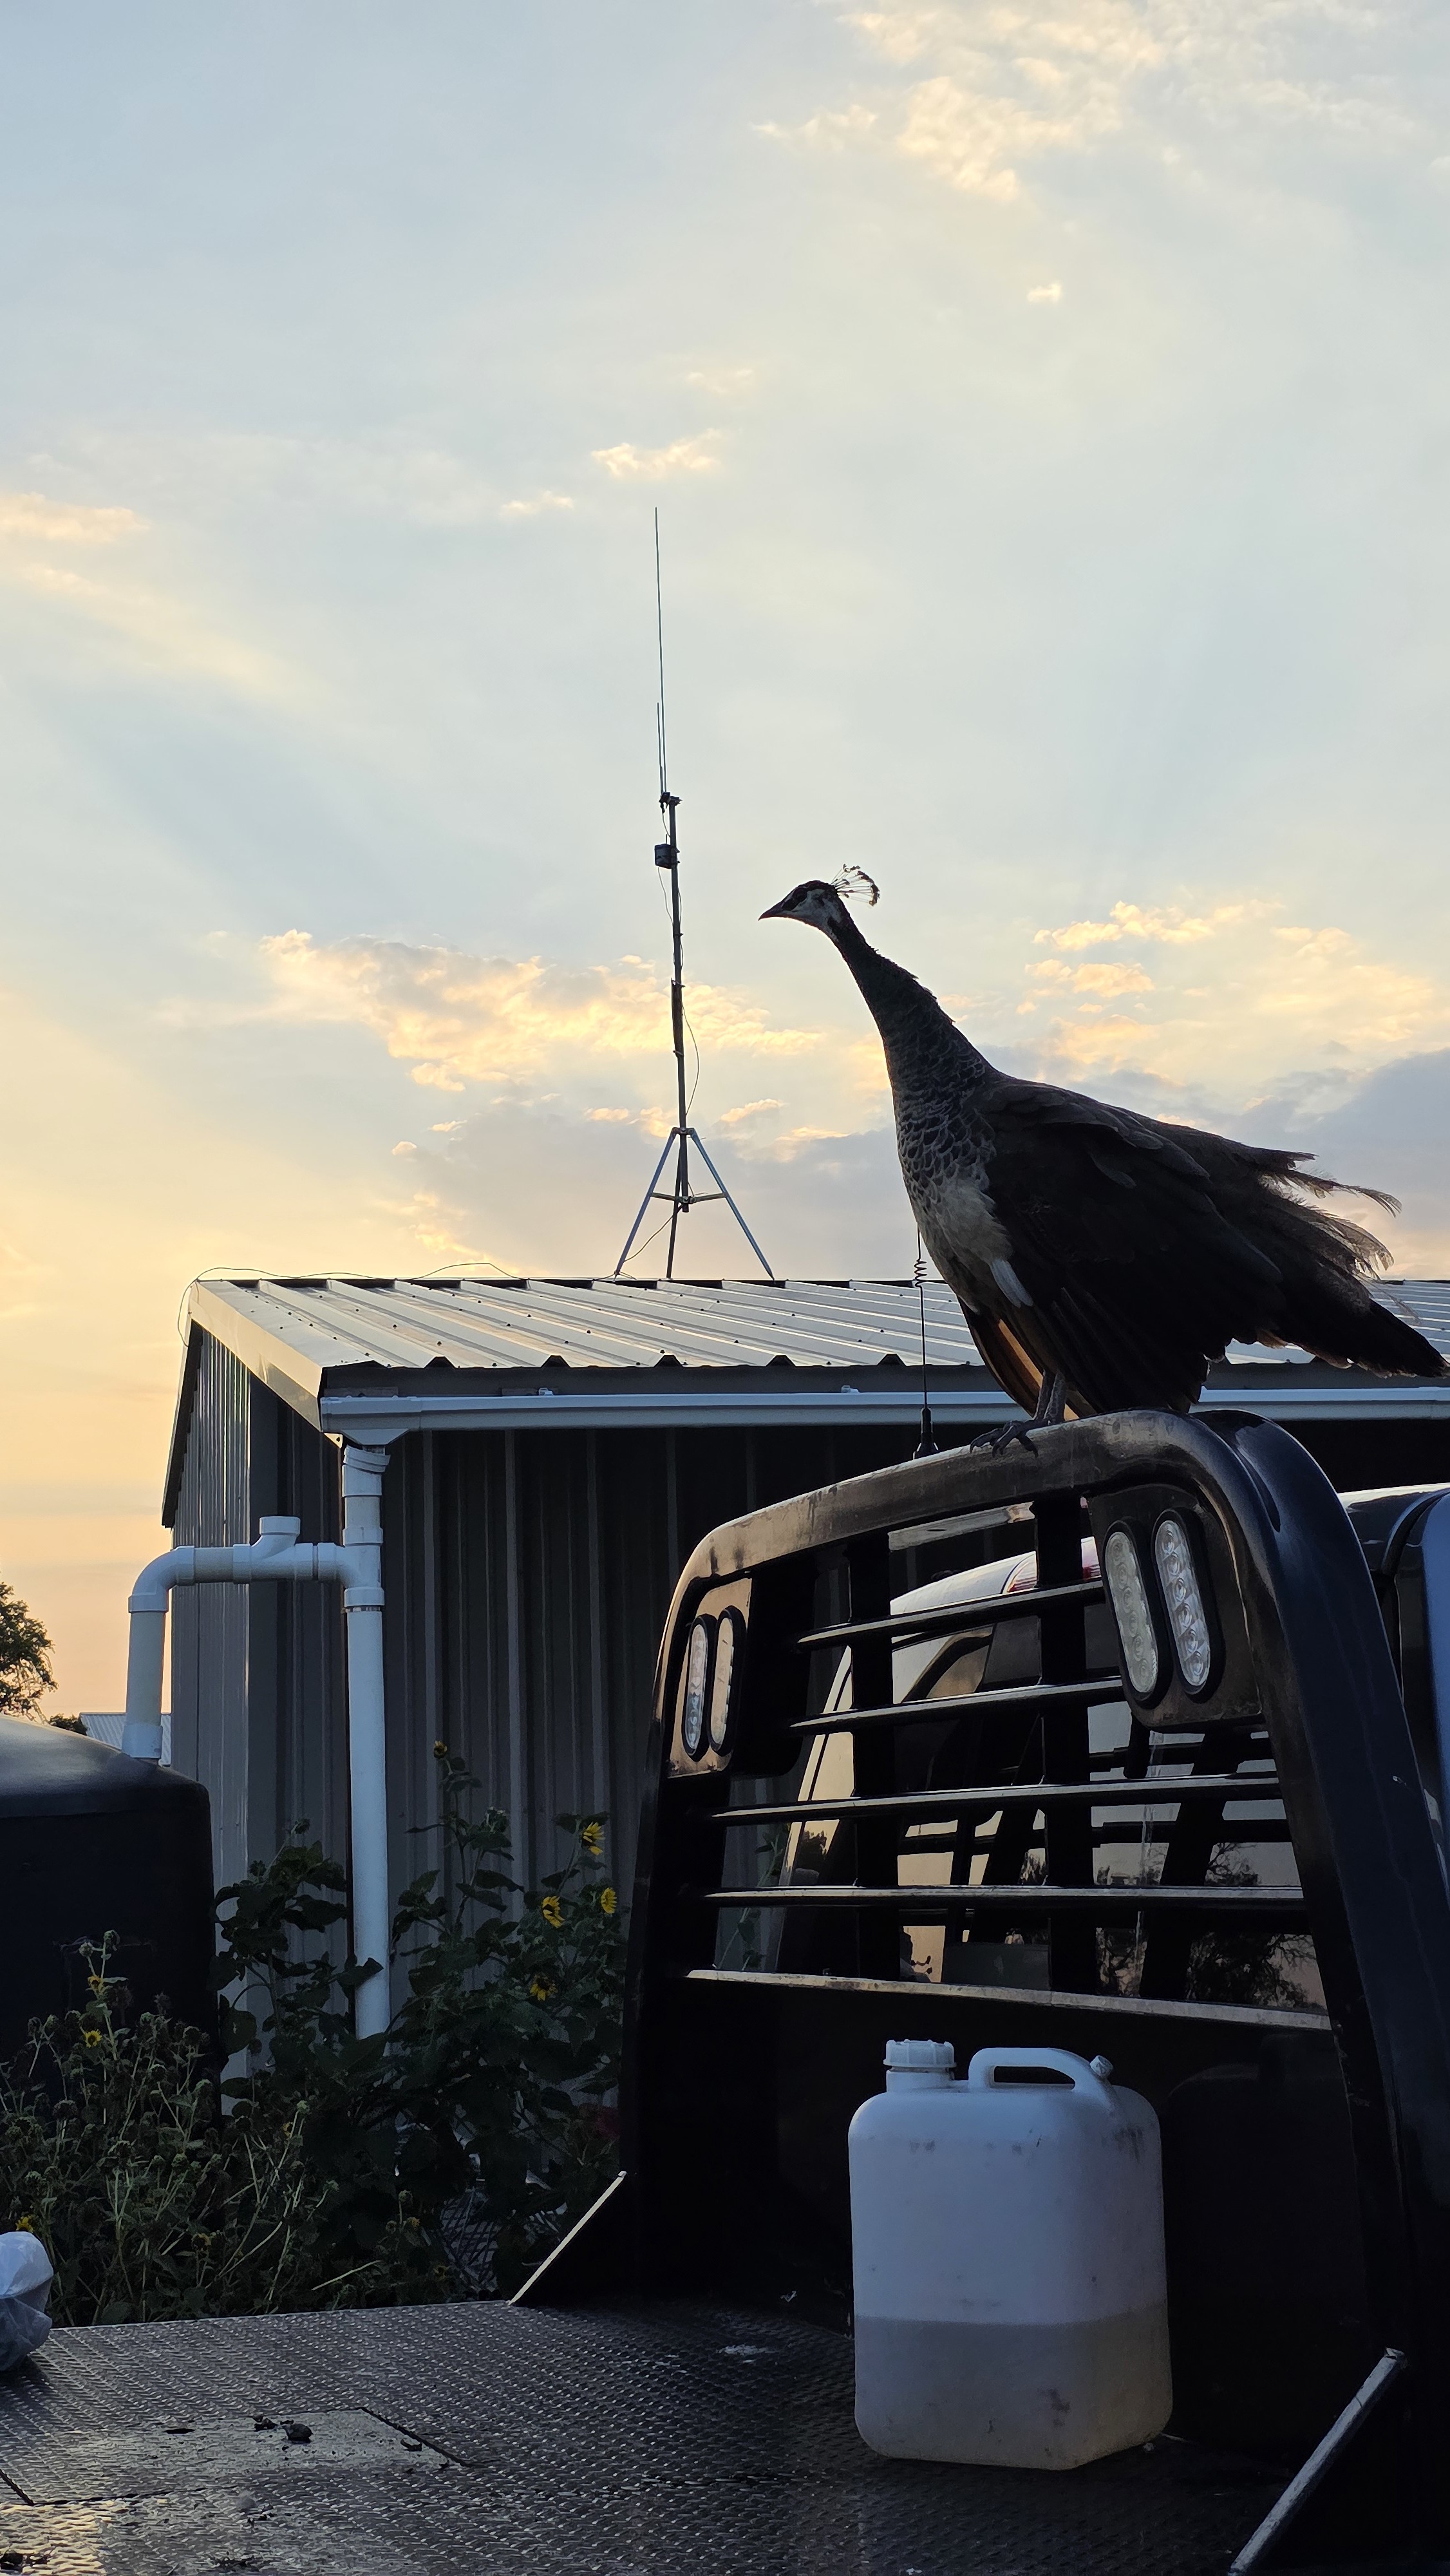
I leveraged the built in Site Planner from Meshtastic to get an idea of the coverage using the Solar powered Wisblock at roughly 7 meters or 20 feet over my shop at the farm.
This first image shows the coverage and signal strength of the recieving Meshtastic Node if it was the height of a handy talky or Mesh pocket node that someone would either have on their person or maybe mobile in their vehicle.
Notice the beginning definition of the terrain and the gaps in coverage from the shadow of higher hills.

The image below similuates a recieving Mesh node that is mounted outside, similar to my setup here, where the antenna is mounted higher of the ground at maybe 7 meters or so.
Notice the coverage starts to fill in the gaps, but doesn't really expand the coverage area much.

The last image here shows the area of coverage and signals to Meshtastic nodes in Router config at 45 feet or 15 meters high.
Notice the increase in singal strength and a much more complete coverage area, but still very limited coveage of Waco.

Range Test & Map
I setup a Range Test using the Solar powered Gray mesh box that is mounted on top of the shop as the Sender node and used the LilyGo node in my mobile as the Reciever node.

Understanding that that Range Test will use the default channel, I have already configured my default channel as a private channel and the rural area I am testing in doesn't have much of a mesh, so I am not concerned about congestion enough to change the default slot, ie frequency.
I also set my interval up at 60 seconds, for testing and setout to drive a circle through the country.
After completing the drive and the test, I pulled the rangetest.csv file from each of the nodes and named them accordingly.
Also, instead of using a public map to examine the range test data, I chose to leverage a python app created by The Comms Channel
I took it a step further and containerized the app, for more flexibility and make it easier for me to run and manage. You can see the instructions to use it on Range Test Map - Quay.io Image.
I really dig the range test map app's flexibility and how fast it is compared to working with any of the public map online.
We can see, where in my journies, I have not recieved a signal, and the color code based on SNR is super nice.

I look forward to doing more range tests and growing the Meshtastic network in the area.
MQTT Integration
- Configure Meshtastic Python CLI
- Connect the Mesh Device using a good USB cable to a computer connected to the network
I'm currently testing with a WisBlock nRF52 device connected to a Fedora ThinkCentre M700 terminal
Meshtastic2hass Code
In a Fedora terminal, prep the system and install the python requirments, along with the meshtastic2hass python package.
pip3 install -r https://raw.githubusercontent.com/Mictronics/meshtastic2hass/refs/heads/main/requirements.txt
pip3 install meshtastic2hass
# Meshtastic2hass configuration file
# The device the Meshtastic device is connected to
device = "/dev/ttyACM0"

# Use network connection to Meshtastic interface instead of serial
use_network = false

# Meshtastic interface network hostname or IP
hostname = ""

[mqtt]
# MQTT broker host name or IP
host = "home-assistant.hole"

# MQTT broker port
port = 1883

# MQTT broker user name
user = "broker"

# MQTT broker password
password = "s3cr3t_t0k3n" #not the real one <<

# MQTT topic prefix
topic_prefix = "msh/2/hass"

[meshtastic]
# Set of Meshtastic nodes short names to be includes in filter.
# Only these nodes will be forwarded to home assistant via MQTT topic, hence creating entities.
# Keep empty to forward all nodes.
# Receiving channels text from nodes is not filtered at all.
filter_nodes = []
- Then run the command and pass the config
meshtastic2hass --config config.toml
- After I validated that it is working as expected, I created a systemd service to manage the command.
[Unit]
Description=PubSub MQTT Meshtastic 2 Home Assistant
After=multi-user.target

[Service]
WorkingDirectory=/home/punk/meshWork/
ExecStart=/home/punk/.local/bin/meshtastic2hass --config /home/punk/meshWork/config.toml
Restart=always
User=punk

[Install]
WantedBy=multi-user.target
Then, look at the nodes showing up on the Home Assistant map and new messages show up from the channels.
Resources
meshtastic --set position.fixed_position true --setlat 37.8651 --setlon -119.5383